Imagine sitting in the stylist’s chair with the sinking feeling that your hair isn't quite ready for the intricate work ahead. It's a common worry, especially when you're balancing the desire for a stunning new look with the fear of unnecessary tension or breakage. Learning how to prep hair for braiding appointment success is the most important step in your style journey. You want a process that feels like a collaborative craft, not a clinical transaction. We understand that your hair is your story, and protecting its health is our highest priority.
You likely already know that a great protective style starts long before the first braid is tucked. This guide promises to transform your routine into a masterclass in hair preservation, ensuring a seamless, painless installation that lasts six to eight weeks. We will explore the vital balance of moisture and strength, clarify the wet versus dry debate, and share professional secrets for maintaining a calm, healthy scalp. Let's begin the journey toward a flawless, durable style that honors your natural texture and your personal confidence.
In This Professional Guide:
- The fundamental importance of a clean canvas for ensuring your knotless braids or twists remain pristine for weeks.
- A step-by-step wash day routine that prioritizes scalp health and removes heavy product buildup.
- How to prep hair for braiding appointment success by establishing a moisture cushion to protect against breakage.
- The professional standard for stretching natural hair to achieve a seamless and polished finish.
- Essential etiquette for arriving at your appointment, focusing on punctuality and hair that is ready for the artisan's touch.
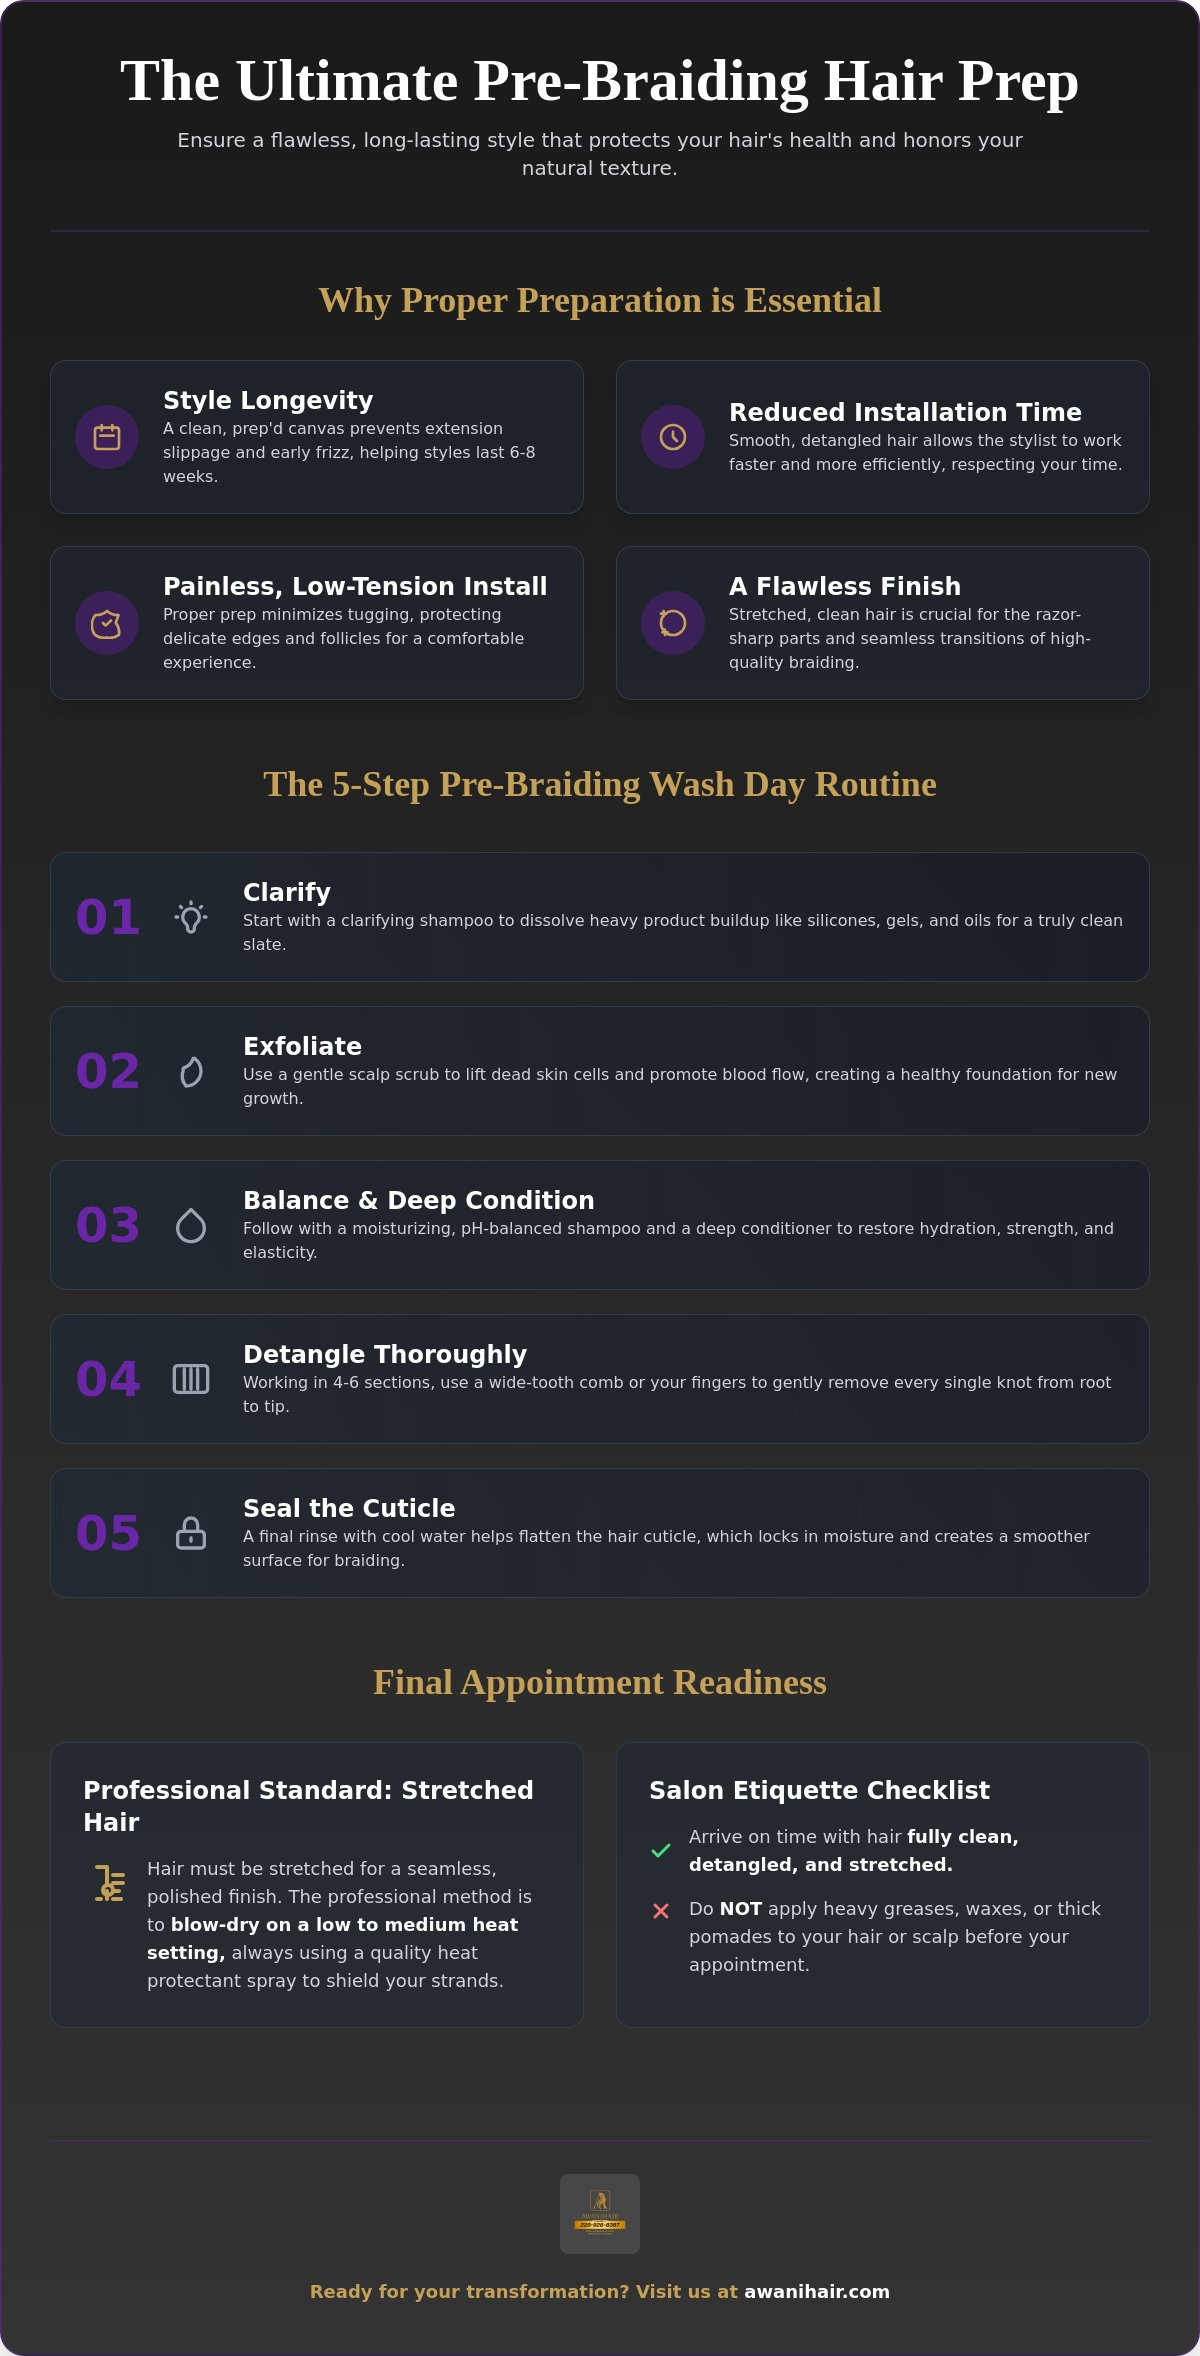
Why Proper Prep is Essential for Protective Styling
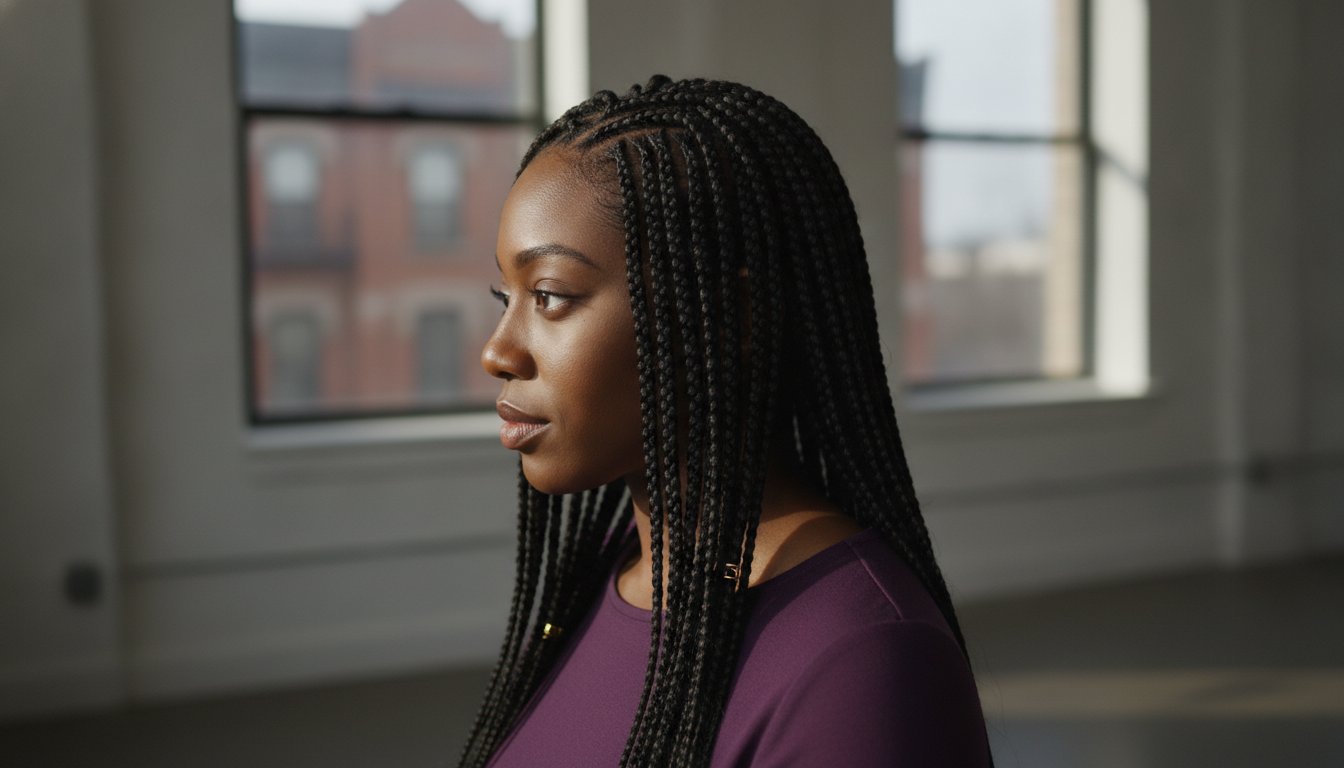
Protective styles like box braids and Senegalese twists are more than just aesthetic choices; they are a long-term commitment to your hair's health and narrative. To honor this tradition, we must view the preparation process as a vital first step in a collaborative craft. Understanding the history and cultural significance of braids reveals why this meticulous artistry demands a perfect foundation. When you master how to prep hair for braiding appointment success, you aren't just making the stylist's job easier. You're ensuring your own comfort and style longevity.
Professional artisans, particularly in the vibrant braiding communities of Brooklyn, emphasize the need for precision. Clean, stretched hair is the only way to achieve those razor-sharp parts and seamless transitions that define high-quality work. Without proper preparation, the artisan's comb can't glide through the hair, which leads to uneven sections and unnecessary tugging. A well-prepped canvas allows the beauty of the technique to shine through without the distraction of frizz or product flakes.
The Science of Clean Hair and Braid Longevity
A pristine scalp is the absolute foundation of a six-week style. Natural sebum and heavy product buildup act as lubricants, which can cause extensions to slip down the hair shaft or frizz much earlier than expected. We aim for hair that is "clean" rather than "stripped." This means removing old gels and oils while maintaining the hair's natural internal moisture. A refreshed scalp also prevents the common "braid itch" often caused by trapped bacteria or irritation from synthetic fibers reacting with old product residue. Clean hair ensures that the bond between your natural strands and the braiding hair is secure and durable.
Reducing Installation Time and Tension
Time is a luxury, and arriving with detangled hair respects both your schedule and the artisan's meticulous skill. When the hair is smooth and free of knots, the stylist can work with incredible speed and flow. This is especially critical for knotless braids, which require a specific level of silkiness to achieve their signature flat, natural-looking finish. Proper prep minimizes the need for heavy-handed manipulation during the appointment. This results in a painless, low-tension installation that protects your delicate edges and preserves the integrity of your hair follicles. It's the difference between a stressful afternoon and a relaxing, transformative experience.
The Ultimate Pre-Braiding Wash Day Routine
A successful installation begins with a dedicated ritual of purification. When considering how to prep hair for braiding appointment success, your wash day is the most influential factor. This isn't just a standard cleaning; it's a strategic sequence designed to ensure your hair remains strong and your scalp stays comfortable for the next two months. Following The Ultimate Pre-Braiding Wash Day Routine will give your hair the resilience it needs for the transformation ahead.
Your wash day should follow a precise, five-step method to achieve professional results:
- Clarify: Start with a potent clarifying shampoo to dissolve heavy silicones, gels, and oils from previous styles.
- Exfoliate: Engage in a gentle scalp scrub to lift dead skin cells and promote blood flow, which is essential for healthy growth.
- Balance: Use a moisturizing, pH-balanced shampoo to replenish the hydration lost during the deep cleaning phase.
- Detangle: Work in four to six sections, using a wide-tooth comb or your fingers to remove every single knot from root to tip.
- Seal: A final rinse with cool water helps flatten the cuticle, locking in moisture and creating a smoother surface for the artisan.
Clarifying vs. Moisturizing: The Double-Cleanse Method
The secret to a long-lasting style is the double-cleanse. You need a sulfate-based or strong chelating agent first to ensure no "old" product remains. This is particularly important for Brooklyn residents; while New York City water is famously soft, the aging plumbing in many local buildings can introduce mineral residue that makes hair feel stiff or coated. A thorough clarify removes these impurities, while the subsequent moisturizing wash restores the soft, pliable texture needed for precise braiding.
Scalp Care for New Braids
Your scalp requires special attention before it is tucked away. Identify any dry patches or irritation now, as these will be harder to treat once your braids are in place. Avoid applying heavy greases, waxes, or thick pomades to your scalp on the day of your appointment. These products can interfere with the grip of the artisan and may cause the extensions to slip. Focus especially on your edges, keeping them clean and free of heavy edge control. If you're feeling unsure about your hair's current state, our experts at Awani Hair Braiding are always here to provide guidance during your booking process.
Deep Conditioning for Strength and Elasticity
The fortification phase is a delicate balancing act. While the previous double-cleanse removes external obstacles, deep conditioning builds internal strength. This step creates a "moisture cushion" that protects each strand from the tension of the braiding process. Without this preparation, hair can become brittle and snap, leading to disappointing results during the take-down. When learning how to prep hair for braiding appointment sessions, many overlook this vital layer of protection. Focus on Deep Conditioning for Strength and Elasticity to ensure your natural texture remains vibrant and healthy throughout the duration of your style.
Mastering how to prep hair for braiding appointment excellence requires understanding the specific needs of your curls. A moisture cushion acts as a protective barrier against the mechanical stress of the installation. When the artisan weaves the extensions into your natural hair, the strands must be pliable enough to bend without fracturing. This flexibility is the direct result of successful deep conditioning. Don't skip the steam session if you want the best results; it’s the difference between surface-level softness and deep, structural health. The gentle heat lifts the hair cuticle, allowing the nutrients to penetrate the core of the shaft. This creates a lasting reservoir of hydration that serves your hair for the next six to eight weeks.
Moisture-Protein Balance for Protective Styles
Identify what your hair is asking for before the appointment. Limp, mushy strands often signal a lack of protein; hair that feels like straw is desperate for moisture. A protein treatment provides the structural scaffolding needed for styles like Senegalese twists, while a hydrating mask offers the flexibility required for knotless braids. Protein treatments fill in the gaps along the hair cuticle, reinforcing the strand's ability to hold the weight of heavier extensions. Aim for a treatment duration of 20 to 30 minutes. Be cautious of "over-moisturizing," which can lead to hygral fatigue. This condition weakens the hair fiber through constant swelling and contracting, making it less resilient over time.
The Final Rinse and Leave-In Selection
Your choice of leave-in products is the final touch before the installation begins. Opt for a lightweight, water-based hydrator that absorbs quickly. Avoid heavy oils, butters, or waxes at this stage. These substances create a slippery film that interferes with the artisan’s grip; this makes it difficult to achieve the precision and neatness you desire. Your hair should feel soft and hydrated, yet naked to the touch. This allows the styling products used by the professional to work effectively without causing flakes or buildup. A clean, hydrated base is the secret to a seamless and long-lasting finish.
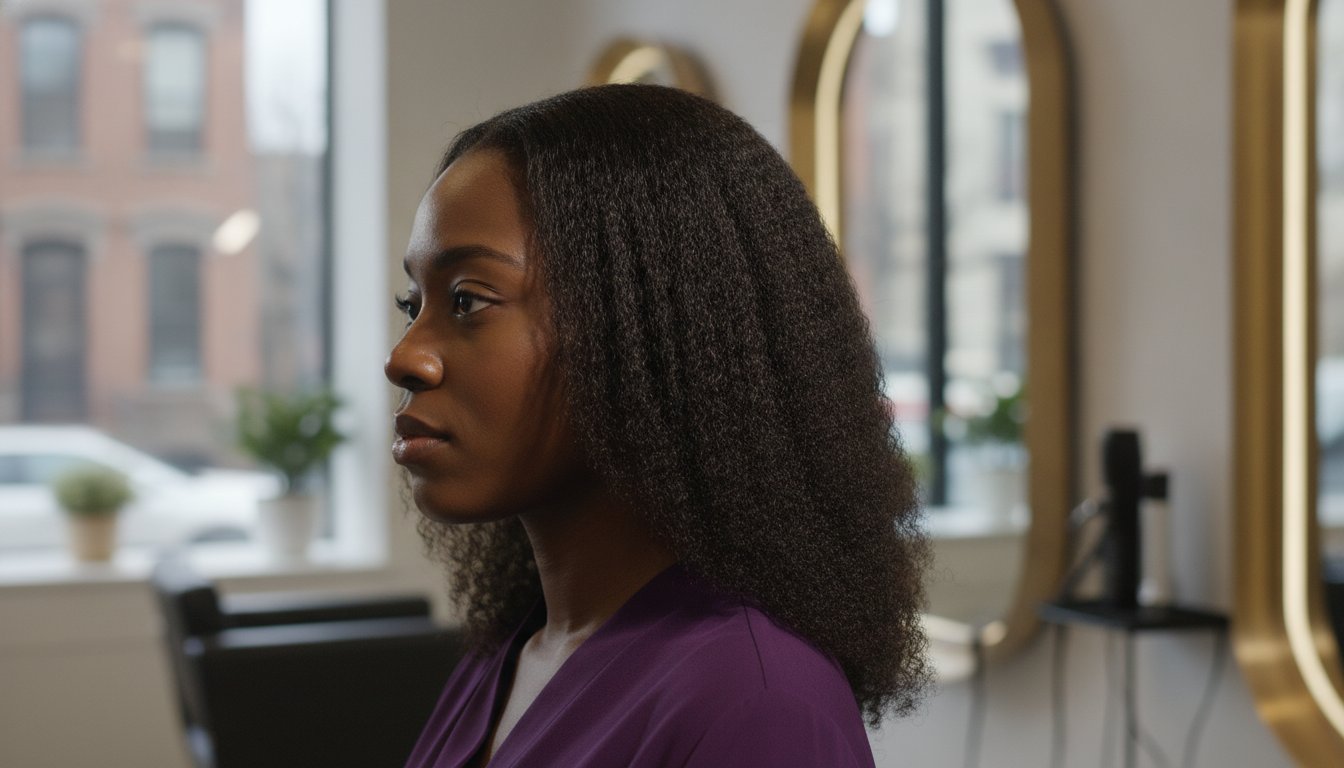
Stretching Your Natural Hair: Blow-Drying and Heat Protection
Once your hair is fortified with a moisture cushion, the final step in how to prep hair for braiding appointment success is stretching. This phase is about elongation and accessibility. Artisans in Brooklyn prioritize stretched hair because it allows for the meticulous precision that modern styles demand. When your curls are elongated, the stylist can create those signature razor-sharp parts and seamless tucks that define a high-quality installation. Organization is key here; divide your hair into four to six manageable quadrants to prevent re-tangling and ensure every strand receives the same level of care.
The tension method is a professional favorite for achieving length with minimal trauma. By holding a section firmly at the ends and moving the blow-dryer along the length of the hair, you achieve a beautiful stretch without the aggressive friction of a brush. A thermal shield mist is a non-negotiable guardian during this process. It creates a microscopic barrier that prevents the heat from compromising your hair's internal structure. This ensures your hair remains healthy and vibrant long after the braids are eventually removed. Learning how to prep hair for braiding appointment needs means respecting the delicate nature of your natural texture while preparing it for a long-term style.
Safe Heat Application Techniques
Patience is your greatest tool when applying heat. Your hair should be roughly 80% air-dried before you introduce a blow-dryer. This significantly reduces the time your strands are exposed to direct heat. Use a wide-tooth comb attachment to gently guide the texture into a lengthened state rather than a round brush, which can cause unnecessary tension and breakage. For knotless braids, the ideal "stretched" state is hair that is smooth, elongated, and free of shrinkage, yet still retains its natural strength and body. This specific texture allows the artisan to blend the extensions into your hair with invisible precision.
Heat-Free Stretching Alternatives
We honor the choice to remain heat-free. If you prefer to avoid blow-dryers entirely, traditional methods like African threading or banding are excellent alternatives. These techniques use thread or soft hair ties to hold the hair in a stretched position as it dries naturally overnight. You can also put your hair into several large, snug braids while damp to achieve a similar effect. When you arrive at the salon, simply inform your stylist that you've used a heat-free method. Clear communication ensures your artisan understands your hair's journey and can adjust their technique to provide the best possible result. Ready to begin your transformation with a master artisan? Book your braiding experience and let us craft a style that tells your story.
Final Salon Etiquette and Appointment Readiness
The morning of your transformation is a time for calm and focus. Finalizing how to prep hair for braiding appointment success involves more than just physical texture; it includes your mental and logistical readiness. We ask that you arrive with what we call "naked" hair. While it's tempting to apply a favorite oil or edge control, these substances create a barrier between your strands and the artisan's hands. Residue leads to slippage and can cause the style to lose its crispness prematurely. Trust in the professional-grade products we use to ensure a secure, seamless finish.
Punctuality is a vital part of the collaborative process, especially in an appointment-only environment like Awani Hair Braiding. Arriving on time ensures your artisan can dedicate their full, meticulous attention to your hair's unique narrative. Since many protective styles require several hours of focused labor, your comfort is paramount. Bring along a book, a tablet, or your favorite playlist to enjoy the journey. Light snacks and water are also recommended to keep your energy high during the installation. The last layer of understanding how to prep hair for braiding appointment details is simply being ready to relax and be cared for.
The Awani Professional Standard
Choosing a dedicated salon environment offers a level of precision and hospitality that differs significantly from home-based services. A clean canvas. A focused mind. A shared vision. Every appointment begins with a brief, meaningful consultation. This is your moment to share your story. Be clear about your scalp sensitivity and any past experiences with tension. We view this as a partnership. Your inspiration photos are welcome tools that help us visualize your goals, whether you're seeking the effortless flow of knotless braids or the bold structure of box braids. Our goal is to align our technical expertise with your personal aesthetic vision.
Last-Minute Checklist Before You Leave
Before you step out the door, take a moment for these final preparations. A quick check ensures a stress-free start to your session. Verified data from 2026 suggests that a 15% to 20% tip for professional services is the standard for honoring an artisan's craftsmanship, so please plan accordingly. A seamless experience is always our priority.
- Check for Tangles: Run your fingers through your hair one last time to ensure no new knots have formed during your commute.
- Verify Dryness: Ensure your hair is 100% dry from root to tip; damp hair trapped in braids can lead to mildew or "sour hair."
- Style References: Have your inspiration photos pulled up and ready on your phone for the initial consultation.
- Scalp Health: Confirm your scalp is free of any new irritation, sores, or significant flaking.
Ready for your transformation? Book your professional braiding appointment at Awani Hair Braiding today and let us craft a style that celebrates your individuality.
Begin Your Journey Toward Flawless Artistry
Your journey to a breathtaking protective style is paved with the intentional care you provide today. By prioritizing a thorough purification routine and establishing a deep moisture cushion, you've set the stage for a true masterpiece. You now possess the professional knowledge of how to prep hair for braiding appointment success. From the precision of the stretch to the clarity of the scalp, every step honors your hair's long-term health and your personal comfort. It's a collaborative process that begins in your home and culminates in our chair.
We invite you to experience a dedicated, meticulous service where your satisfaction is our highest priority. We specialize in painless knotless and boho braids, providing expert care that ensures your natural hair thrives within its new design. Our appointment-only salon offers the quiet, focused environment your story deserves. Experience the artisan touch; Book your Brooklyn braiding appointment today. Your vision is ready to be realized. We look forward to welcoming you and crafting a style that celebrates your unique beauty and confidence.
Frequently Asked Questions
Should I wash my hair the same day as my braiding appointment?
You should ideally wash your hair within 24 hours of your visit. Arriving with a freshly purified scalp ensures the artisan can work with a clean canvas. If you wash on the same day, allow enough time for the hair to dry completely. Damp hair can lead to discomfort and potential mildew under the extensions. A clean, dry base is the professional standard for a long-lasting style.
Can I arrive with my hair wet if I am getting knotless braids?
No, you shouldn't arrive with wet hair for knotless braids. The artisan needs your hair to be 100% dry and stretched to achieve the signature flat, seamless look. Braiding wet hair can lead to excessive tension as the hair dries and shrinks. It also prevents the stylist from achieving the precision required for high-quality results. Your comfort and hair health depend on a dry start.
Do I need to blow dry my hair straight before coming in?
Most professional salons require your hair to be blown out or stretched. This isn't about making the hair bone-straight; instead, it removes the natural curl pattern to prevent tangling during the installation. Stretched hair allows for cleaner parting and a more polished finish. If you prefer heat-free methods, ensure the stretch is thorough and the hair is completely dry. This preparation respects the artisan's time and skill.
What happens if I have product buildup on my scalp?
Product buildup can interfere with the artisan's grip and cause the extensions to slip. It often results in unsightly white flakes once the style is completed. If you arrive with significant buildup, the stylist may need to reschedule. This is why learning how to prep hair for braiding appointment success involves a dedicated double-cleanse routine. A refreshed scalp is the foundation of a healthy, beautiful style.
Is it okay to trim my hair right before getting braids?
We recommend avoiding a full haircut or significant trim immediately before your appointment. Freshly cut ends can be blunt and difficult to tuck into the braids, often causing "poking" or frizz. If you have severe split ends, a light dusting a week prior is helpful. This ensures your hair remains healthy without compromising the neatness of the installation. Let your ends remain soft for better blending.
How long should my natural hair be for a braiding appointment?
Your natural hair should be at least three to four inches long for a secure installation. This length provides enough surface area for the artisan to anchor the extensions without causing undue tension on the follicle. Shorter hair may be possible for certain styles, but it often requires a consultation. Ensuring sufficient length protects your edges and guarantees the durability of the final look.
Can I bring my own braiding hair to the salon?
It's best to check our specific booking policy, as many professional artisans prefer to provide high-quality, pre-stretched hair. Using our curated selection ensures the texture and color match our professional standards. If you have a specific brand or fiber you prefer, please mention this during your consultation. This collaborative approach helps us realize your aesthetic vision perfectly while maintaining the highest quality of work.
What should I do if I have a very sensitive scalp?
Clear communication is essential if you experience scalp sensitivity. Inform your artisan before the session begins so they can adjust their tension and technique. You might also consider pre-treating your braiding hair with an apple cider vinegar rinse to remove alkaline coatings. Understanding how to prep hair for braiding appointment comfort ensures a stress-free and enjoyable transformation. We prioritize your satisfaction and physical ease throughout the entire process.